I’ve Had a Bob My Whole Adult Life, Here’s How I Haven’t Got Bored of It

Jas is the former Senior Content Specialist at Adore Beauty. A beauty admirer turned certified addict, she brings a sharp editorial eye and pop-culture pulse to everything she creates. Her words have appeared in The Age, Sydney Morning Herald, and Broadsheet. When she’s not producing viral content or podcasting about skincare, you’ll find her thrifting for vintage treasures or binging Bravo (strictly for research, of course).
Calling all my short-haired sisters, the bob is having (another) moment.
Timeless and versatile, 2023’s resurgence of the bob comes as beauty enters its ‘micro makeover’ era. We’re trading in our coffin nails for short, french manis and our long locks for the big chop.
From the ‘Italian’ to the ‘Boyfriend’, the ‘80s shag and the lob (aka long bob), there are countless renditions of the classic bob hair cut, depending on your personal style, natural hair texture and face shape.
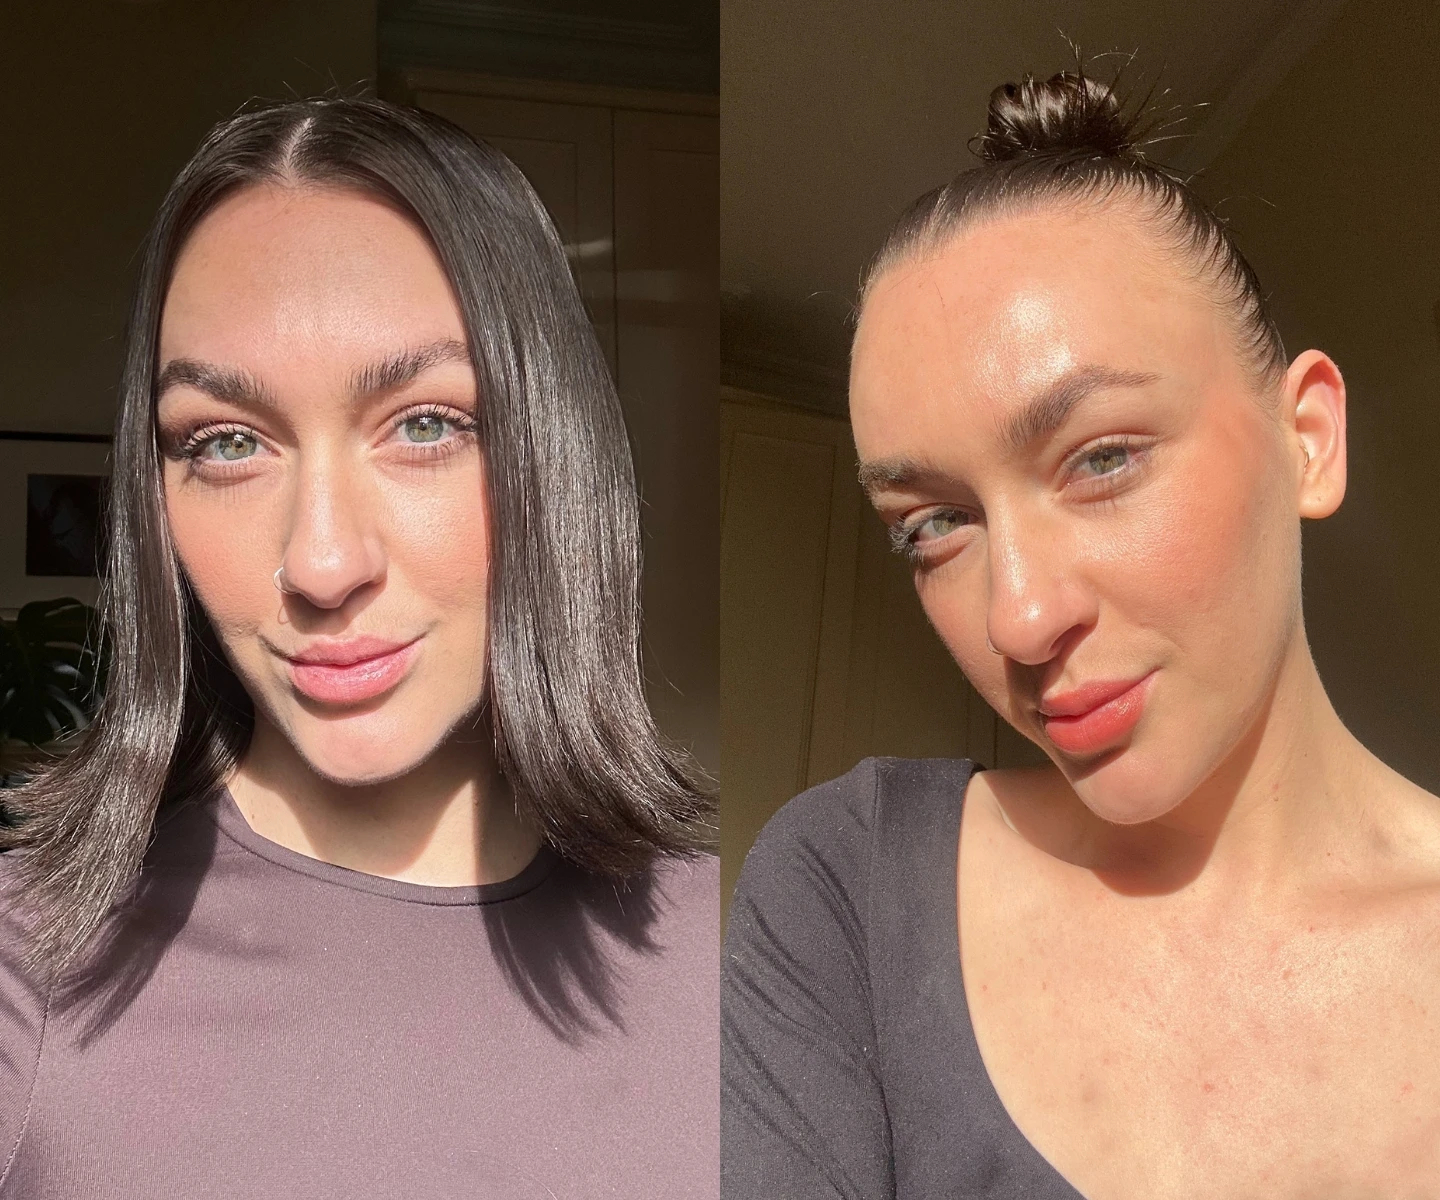
Being Adore’s resident short-hair girlie, this news is music to my ears.
Having proudly rocked a bitchy bob (as my best friend—another bob purist—and I have rebranded it) for almost 10 years, I know a thing or two about keeping it fresh.
So, if you’re thinking of taking the plunge or simply looking to revamp your go-to short style, scroll on for three ways I style mine (that aren’t sleek and straight).
1. The ‘60s Flick.
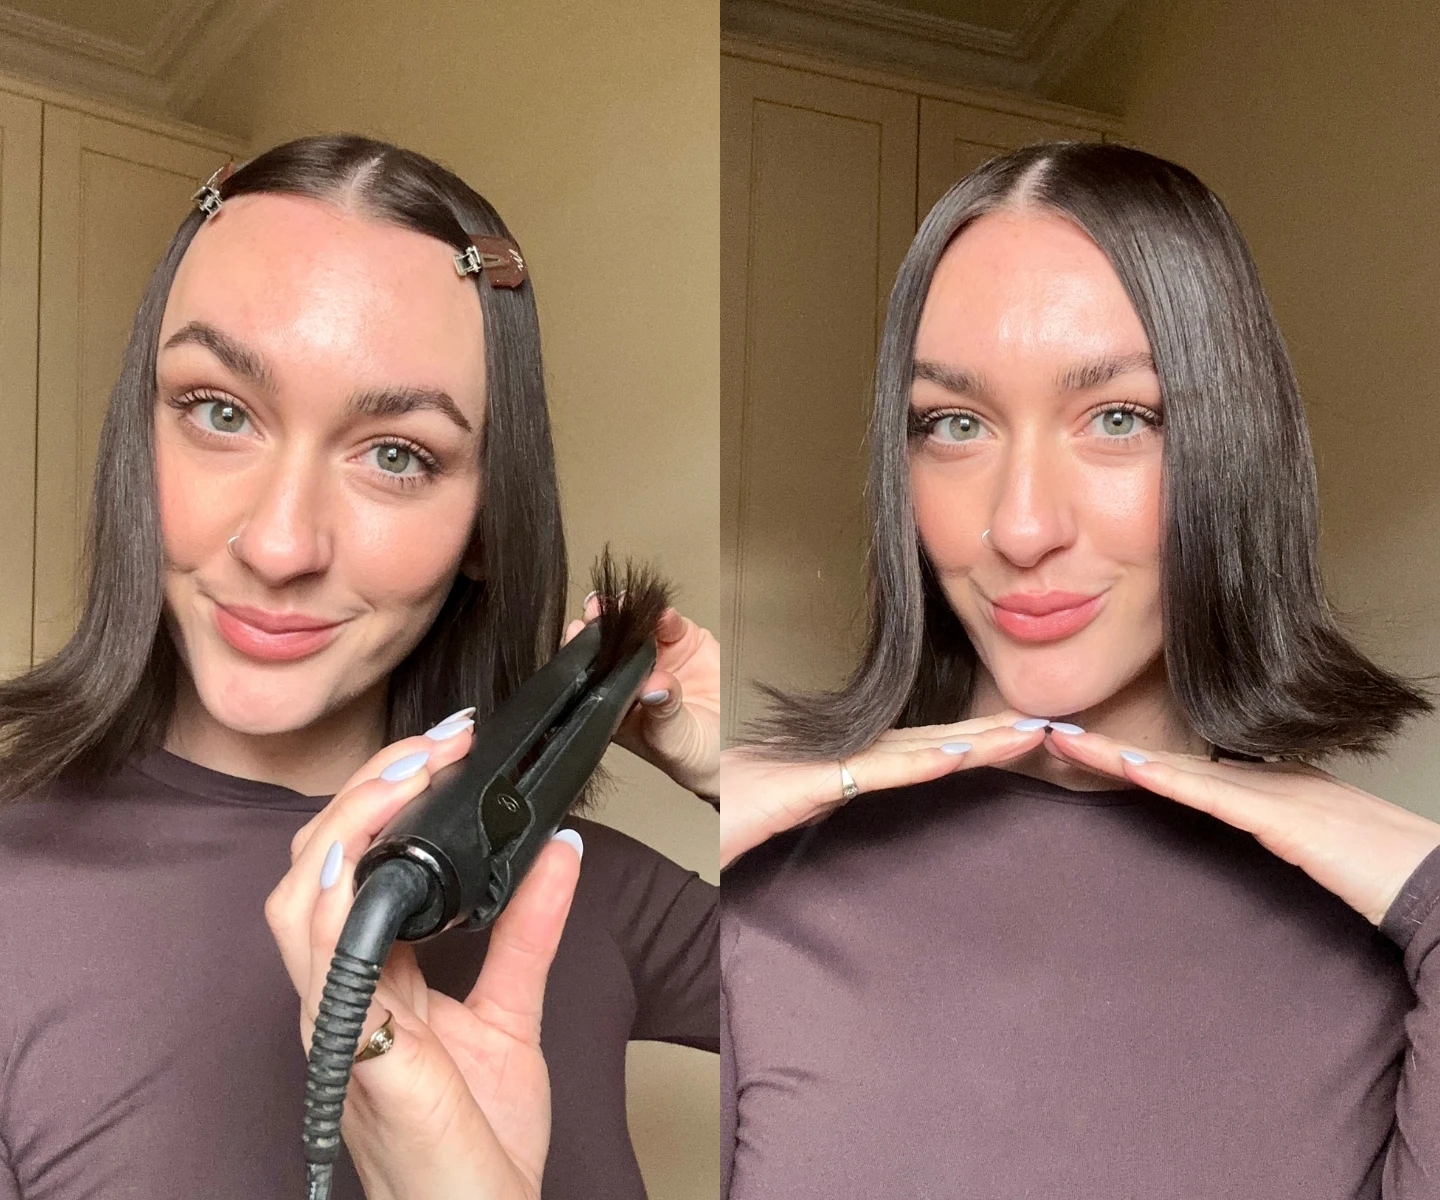
Anyone who knows me knows that I love a vintage moment. I’ll take every opportunity I can to get all dressed up and play with iconic looks.
One hairstyle I frequently turn to is the flicked bob.
Think Jackie Kennedy or ultimate cool-girl Hailey Bieber's minimal take below (side note: is there any trend she hasn’t set!?).
It’s such a simple yet fun look that immediately makes me feel 10x more chic.
To achieve a ‘60s flick, I used:
- Mr.Smith Primer - A pre-styling spray that smooths frizz, enhances shine, prolongs your hairstyle and protects your tresses from heat styling and UV damage.
- CLOUD NINE The Original Iron - A salon-quality ceramic hair straightener. Alternatively, you can use any hair straightener with a rounded barrel.
- O&M Original Queenie Firm Hold Hairspray - A firm but flexible-hold hairspray to set the style. Alternatively, you can use your hairspray of choice.
- Revlon Professional Restart recovery anti-split ends sealing drops - Seals hair cuticle and prevents the appearance of split ends.
How to create the ‘60s flick:
Step 1. Wash and towel dry your hair and apply the Mr. Smith Primer throughout.
Step 2. Blow dry and apply a small amount of the Revlon Sealing Drops to mid-lengths right through to the ends, or a hair serum of your choice.
Step 3. Working in sections, gently pull the hair straightener through your hair from mid-length.
Step 4. As you reach roughly halfway, begin rotating the hair straightener toward you in a ‘J’ motion, holding it in place at the ends for 1-2 seconds. Release slowly.
Watch me the '60s hair flick in real-time below.
Step 5. Repeat until all of your hair is done. Feel free to go back over sections to add more/less drama, focusing on the top layer.
Step 6. To finish, apply the O&M Original Hairspray, focusing on the ends to maintain the style throughout the day.
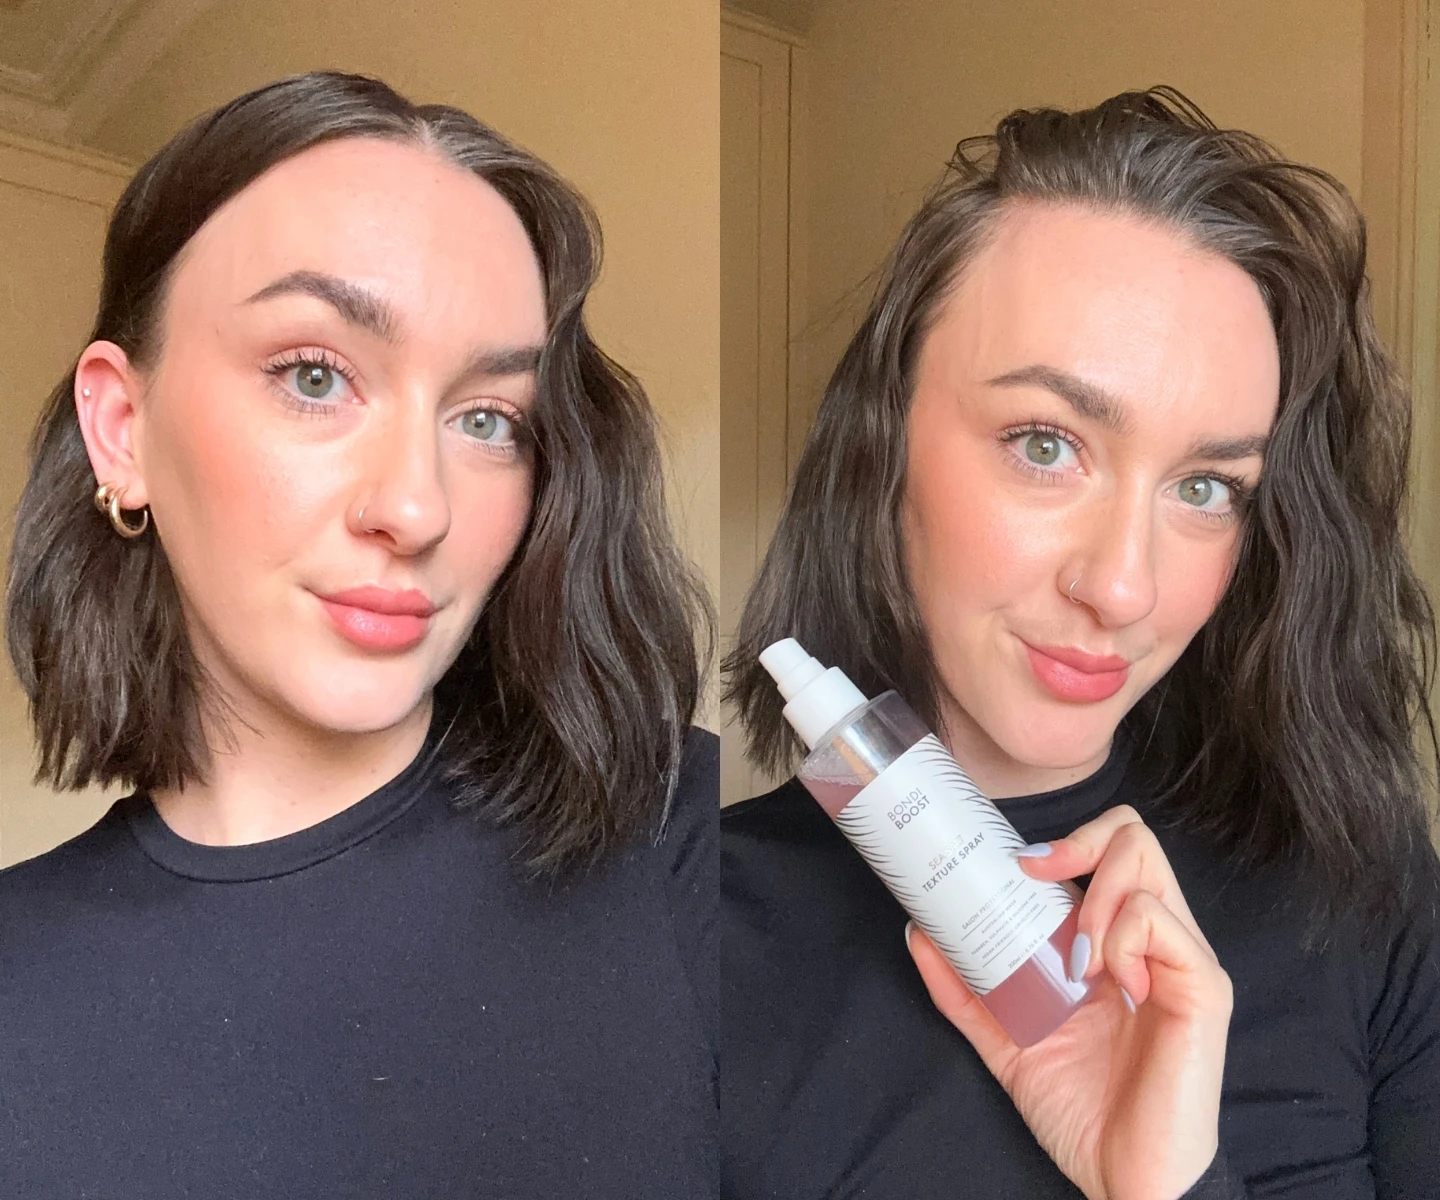
2. Snatched Bun.
The snatched bun is essentially a tight, sleek bun that gives your face a little extra sculpting aka ‘snatch’.
It’s my ultimate lazy girl hairstyle.
Can’t be bothered washing your hair? Snatched bun. Having a bad hair day? Snatched bun. Want to feel a lil’ more put together? Snatched bun.
And so on, but you get the idea.
The great thing about this hairstyle is that you can use the excess oils that build up in your hair between washes to tame flyaways and keep your hair in place.
To achieve a snatched bun, I used:
- Mr.Smith Primer - For this hairstyle, I apply the primer on dry hair to detangle and tame it, and give me a bit of grit to work with.
- ELEVEN Australia Styling Brush in Box - Large - A boar and nylon hairbrush that helps smooth frizz and reduce static. Alternatively, any boar bristle brush will do!
- Bondi Boost Sea Salt Texture Spray - Helps add natural texture to the hair and keeps flyaways in place.
- ELEVEN Australia Slick Hold Styling Pomade - 85g - A strong hold pomade with hydrating ingredients that creates a sleek, wet-look finish. If you prefer a more natural bun, you can either skip this step or opt for a matte paste for extra hold.
- R+Co Waterfall Moisture + Shine Lotion - A lightweight, hydrating lotion for shiny, soft, more manageable hair with light hold and a non-sticky feel.
How to create a snatched bun:
Step 1. Starting with dry—preferably greasy—hair, spritz the Mr. Smith Primer throughout your hair and brush or comb through to detangle and prep for styling.
Step 2. Using a comb, create a middle part and separate two pieces of hair at the front, clipping them to return to later.
Step 3. Use your brush or comb to scrape back the hair and get it looking nice and neat before securing it in a high or low pony, depending on your personal preference.
Step 4. Once your ponytail is secured, unclip the front sections of your hair and reapply the primer if necessary before connecting them to your ponytail or as close to if your hair is shorter.
Watch me create a snatched bun in real-time below.
Step 5. Twist and wrap your ponytail into a bun and secure it with another hair tie.
Step 6. Spritz the Bondi Boost Sea Salt Spray all over your hair and use a brush/comb or a clean, unused toothbrush to tame flyaways and keep your hair it in place.
Step 7. If you prefer the slick look, rub a 10-cent piece of the ELEVEN Slick Hold Styling Pomade between your hands and work through your hair.
Step 8. To finish, warm a 10-cent piece of the R+Co Waterfall Lotion or a hair oil of your choice in your palms and smooth through your hair to add shine.
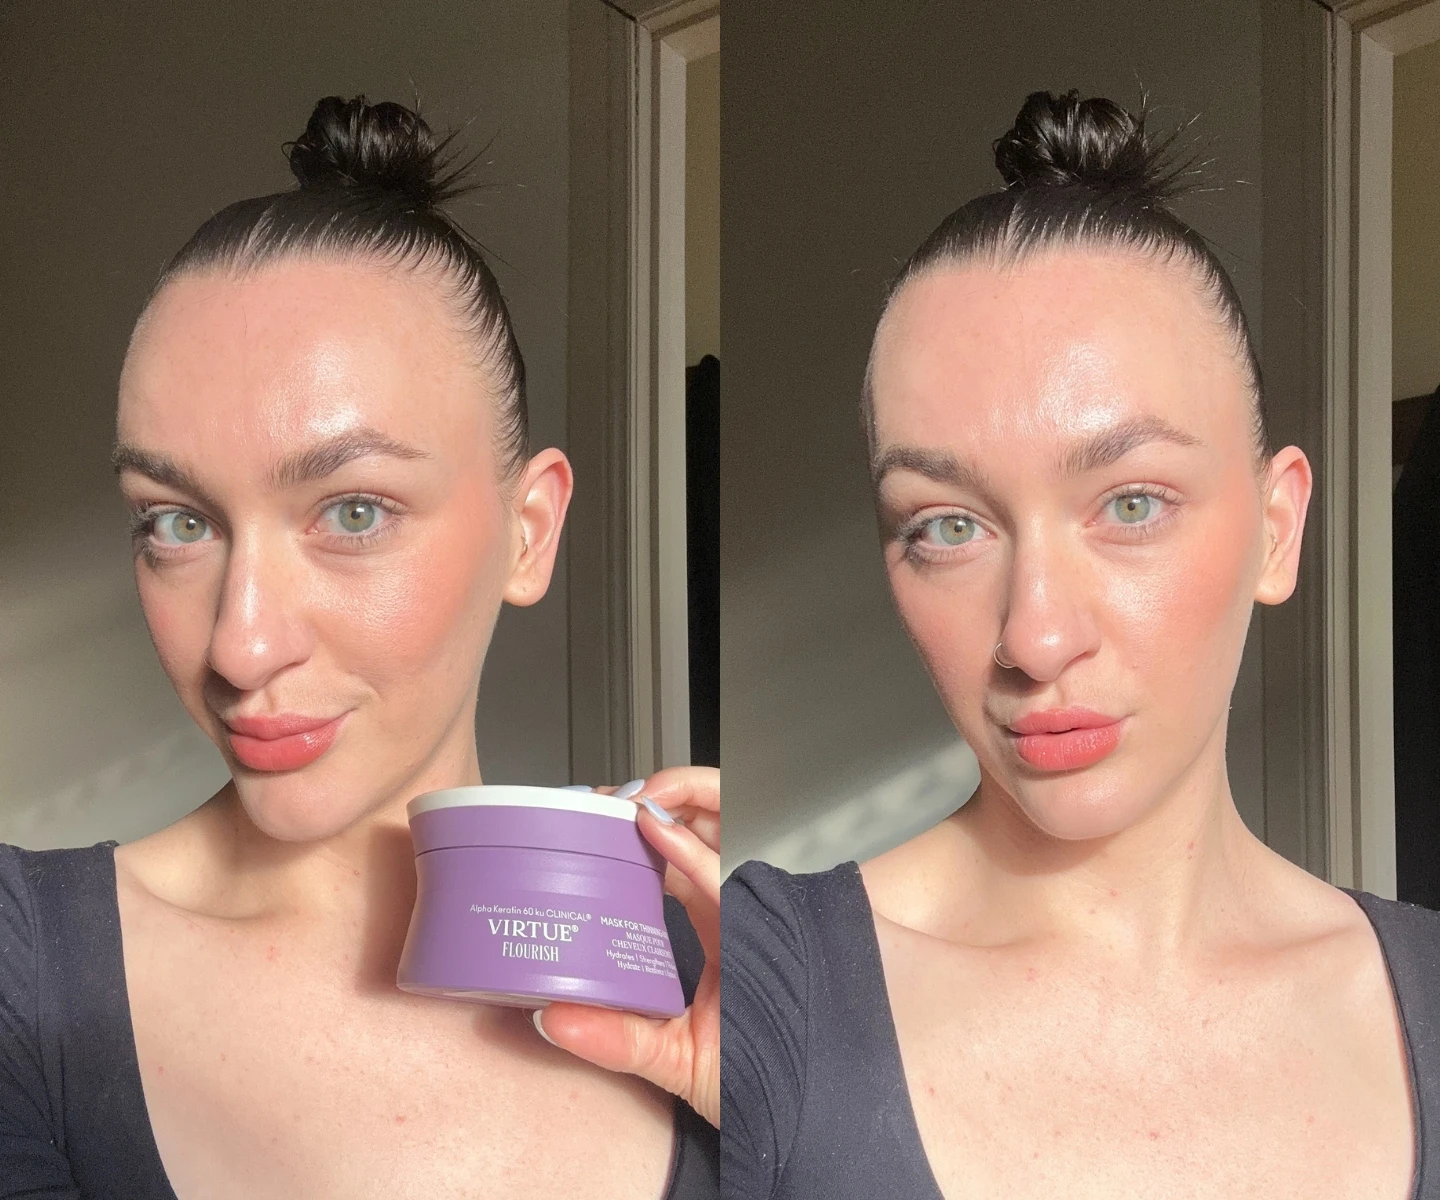
3. Textured Waves.
When I’m feeling fruity or want to take my usual sleek straight style up a notch, I turn to textured waves.
It’s the no-makeup makeup of the hair world.
Like the other two styles, textured waves are relatively easy to create. (Are we sensing a theme here yet?)
If you have fine hair like me, they're also a great way to add volume.
You can use a hair crimper (like the Mermade Hair PRO Waver) for more polished waves but I personally prefer the undone look.
To achieve textured waves, I used:
- VIRTUE Flourish Shampoo & Conditioner - A powerful haircare duo that adds volume to fine or thinning hair.
- Mr.Smith Primer - Honestly, I’m just obsessed with using this as the foundation for a variety of hairstyles at the moment and find it helps hold volume.
- CLOUD NINE The Original Iron - Again, using my go-to ceramic hair straightener. Alternatively, any hair straightener with a rounded barrel will work.
- NAK Hair ORI Lab Undone Texture Spray 150g - Adds flexible hold and effortless texture to your locks.
How to create textured waves:
Step 1. This style can be created on dry hair to extend time in-between washes or after washing your hair with a volumising shampoo and conditioner.
Step 2. Spritz Mr. Smith Primer through towel-dried hair and blow dry.
Step 3. Working in sections, gently clamp your hair straightener down about one inch from the roots, rotating the straightener inward and holding for 1-2 seconds.
Step 4. Rotate the straightener outward (or in the opposite direction) to make an ‘S’ shape and hold for 1-2 seconds. Repeat until the section is done.
Watch me create textured waves in real-time below.
Step 5. Repeat the same process until all of your hair is done. Feel free to go back over sections that may have dropped until you’re happy with the finish.
Step 6. An option here is to gently brush through your waves for a more polished look.
Step 7. To finish, spritz the NAK Hair ORI Lab Texture Spray throughout your hair to add volume. Alternatively, a sea salt spray works well for a more beachy look or you can add a light hairspray for a stronger hold.
Watch me chat through each hairstyle in detail in the below YouTube video.
Want more haircare tips and recommendations? Check out these Beauty IQ articles:


