A Makeup Artist’s Take on TikTok’s Latest ‘Romantic’ Beauty Trend

I am the Content Manager here at Adore Beauty. I have been a makeup artist for over 6 years now and love all things beauty.
If your For You Page is anything like mine, then 'Romantic Makeup' looks are probably plastered all over your feed.
Being a makeup artist and all-'round beauty lover, naturally, I had to give this trend a try (with my own spin of course).
What actually is romantic makeup?
The 'Romantic Makeup' trend is all about capturing a soft, dreamy aesthetic that channels a timeless, feminine vibe—think delicate pinks, subtle shimmers, and a natural glow.
It's like stepping into a Jane Austen novel, but with a modern twist, where the goal is to look effortlessly enchanting.
This trend leans into blush-draping, where soft rosy tones sweep across the cheeks and even the eyelids, creating a cohesive warm flush.
The eyes are gently defined, often with a wash of pastel shades or a hint of shimmer, while the lips are usually adorned with soft, pinky nudes or a delicate gloss.
Also a perfect look for any upcoming brides who are searching for 'romantic wedding makeup.'
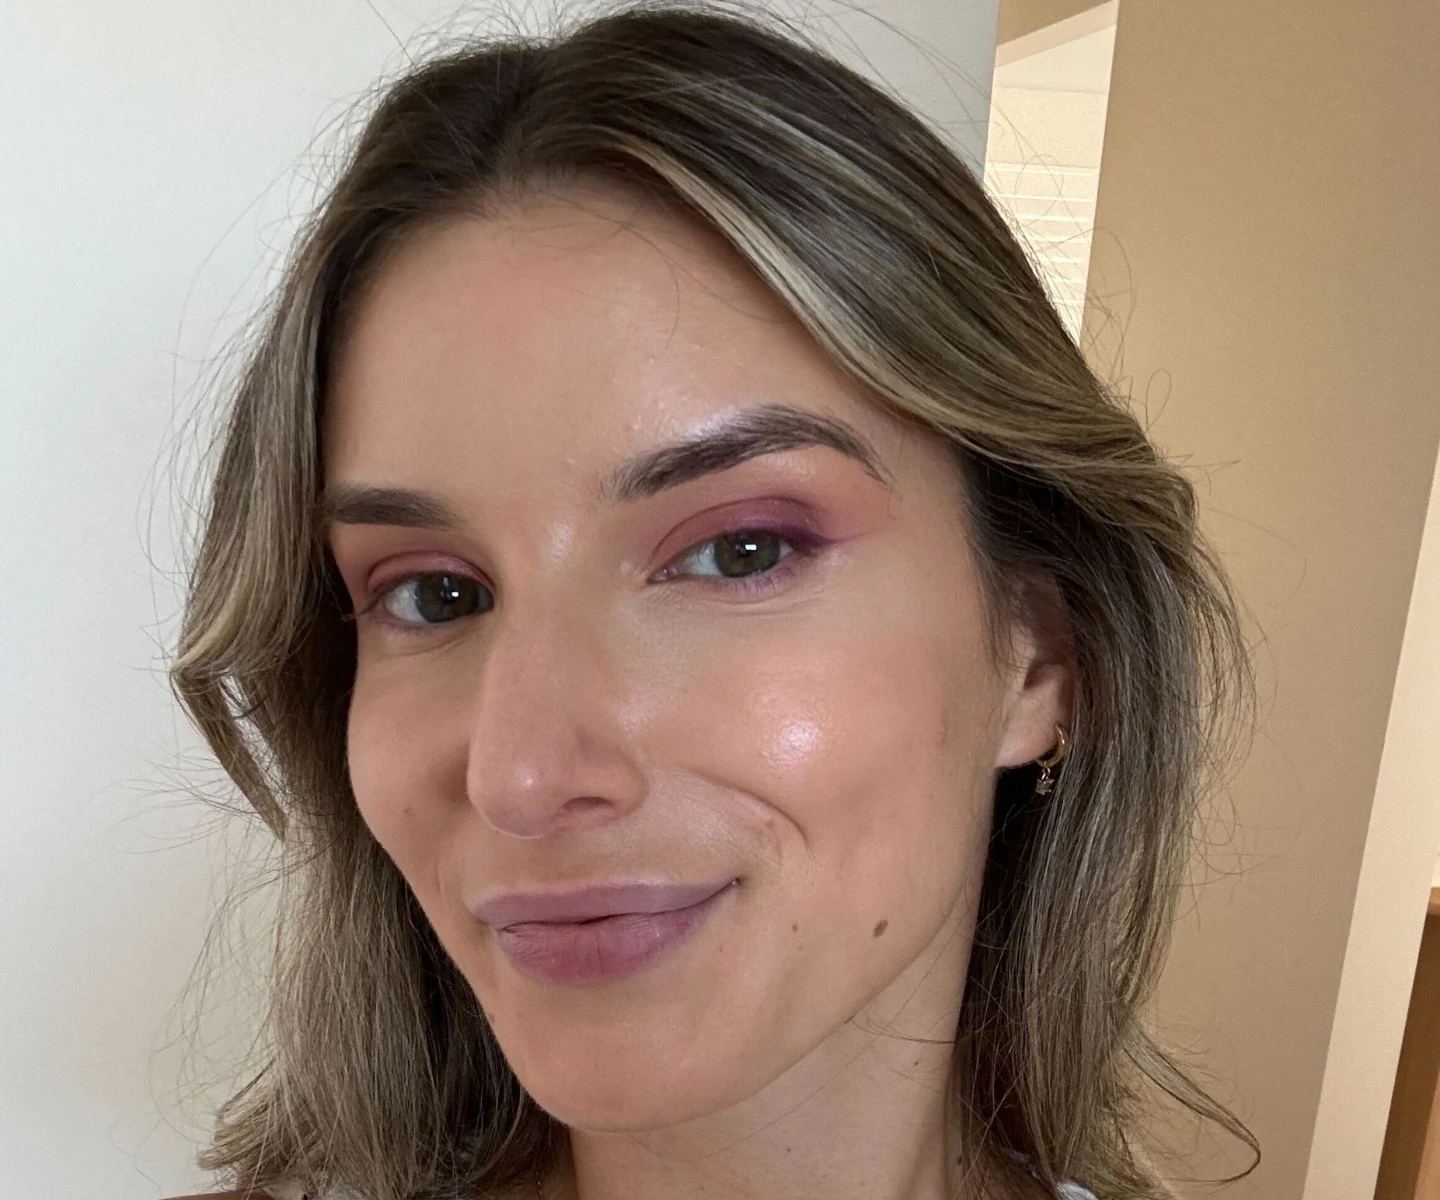
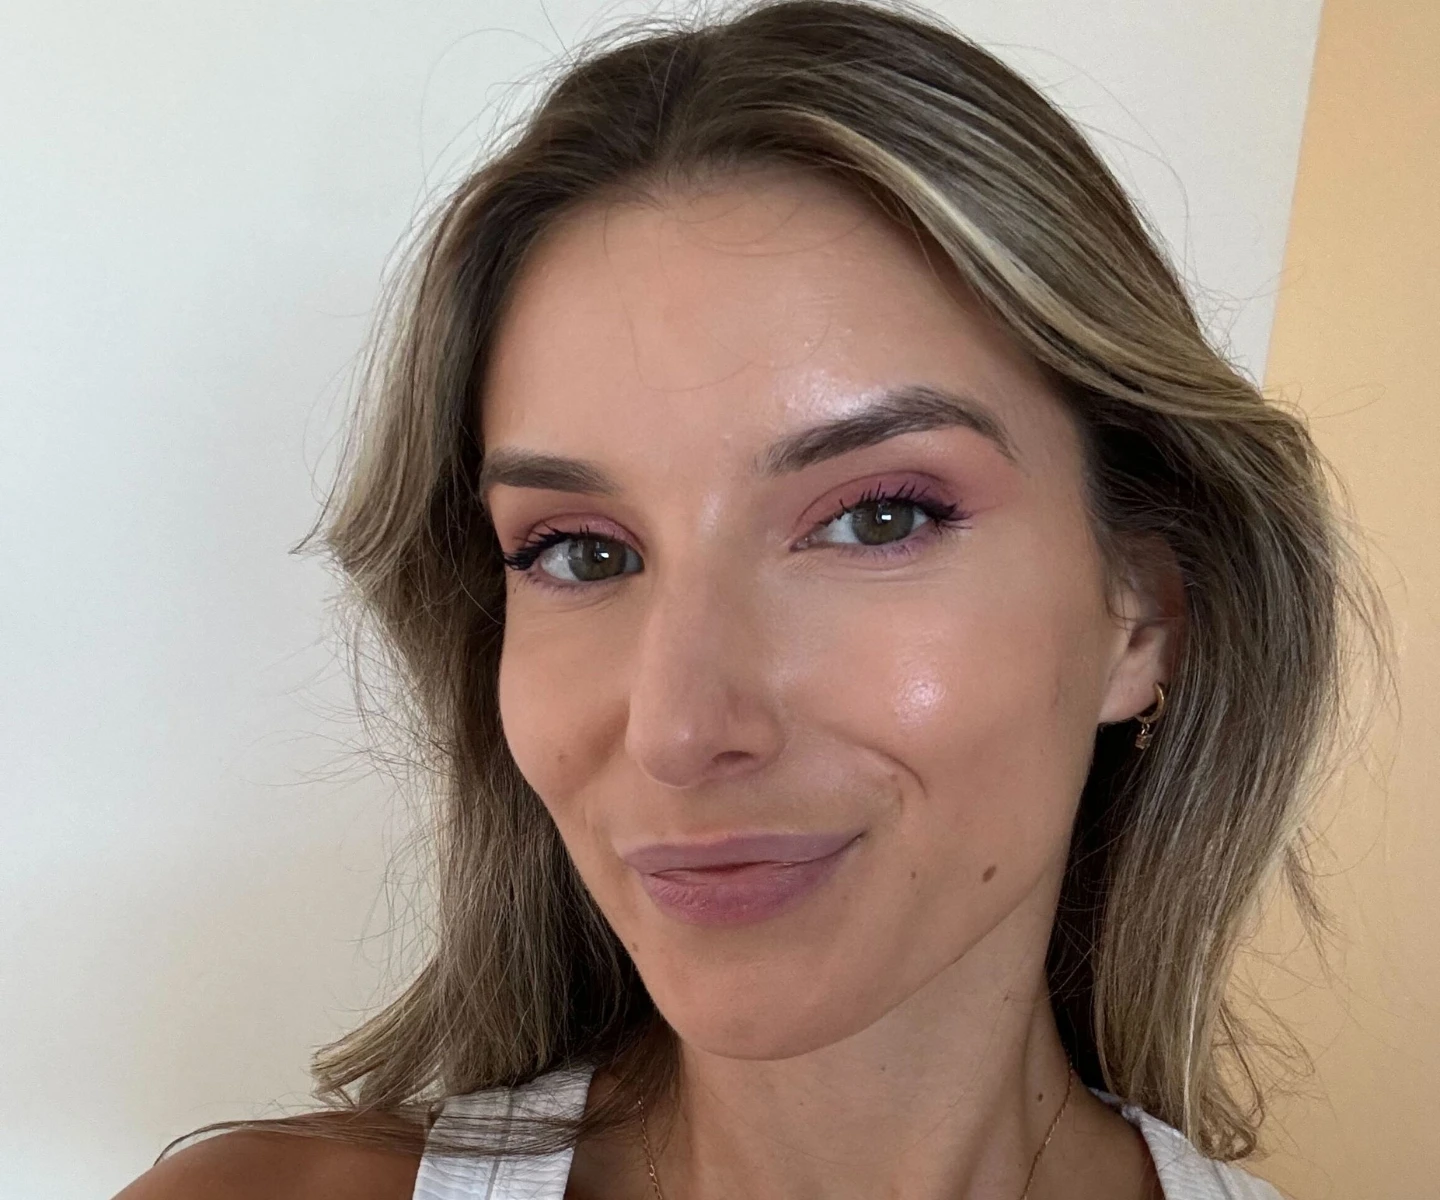
Ahead you'll find a step-by-step tutorial for recreating my Romantic Makeup look.
My Romantic Makeup Routine.
Base.
For the skin, I knew that I wanted a healthy effortless glow, and I had just the duo in mind to help me achieve this.
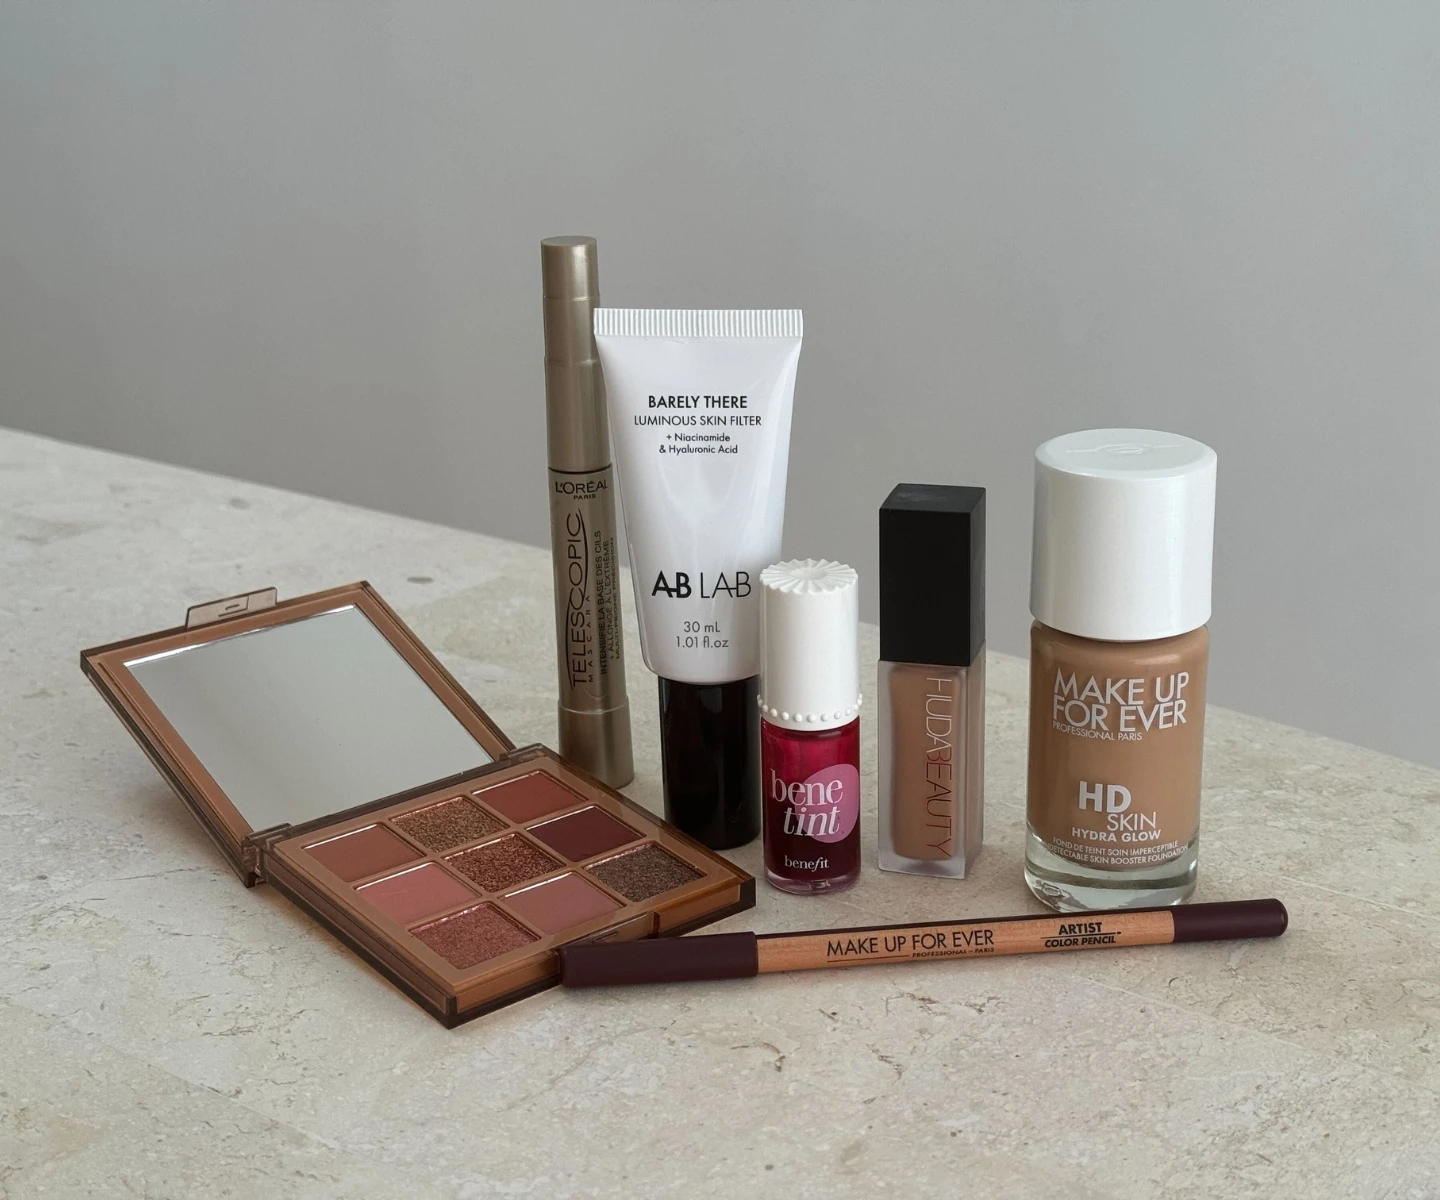
I first went in with the AB LAB by Adore Beauty Barely There Luminous Skin Filter Primer 30mL.
If you’re after a primer that works to blur imperfections whilst delivering a lit-from-within glow, then this should be added to cart ASAP.
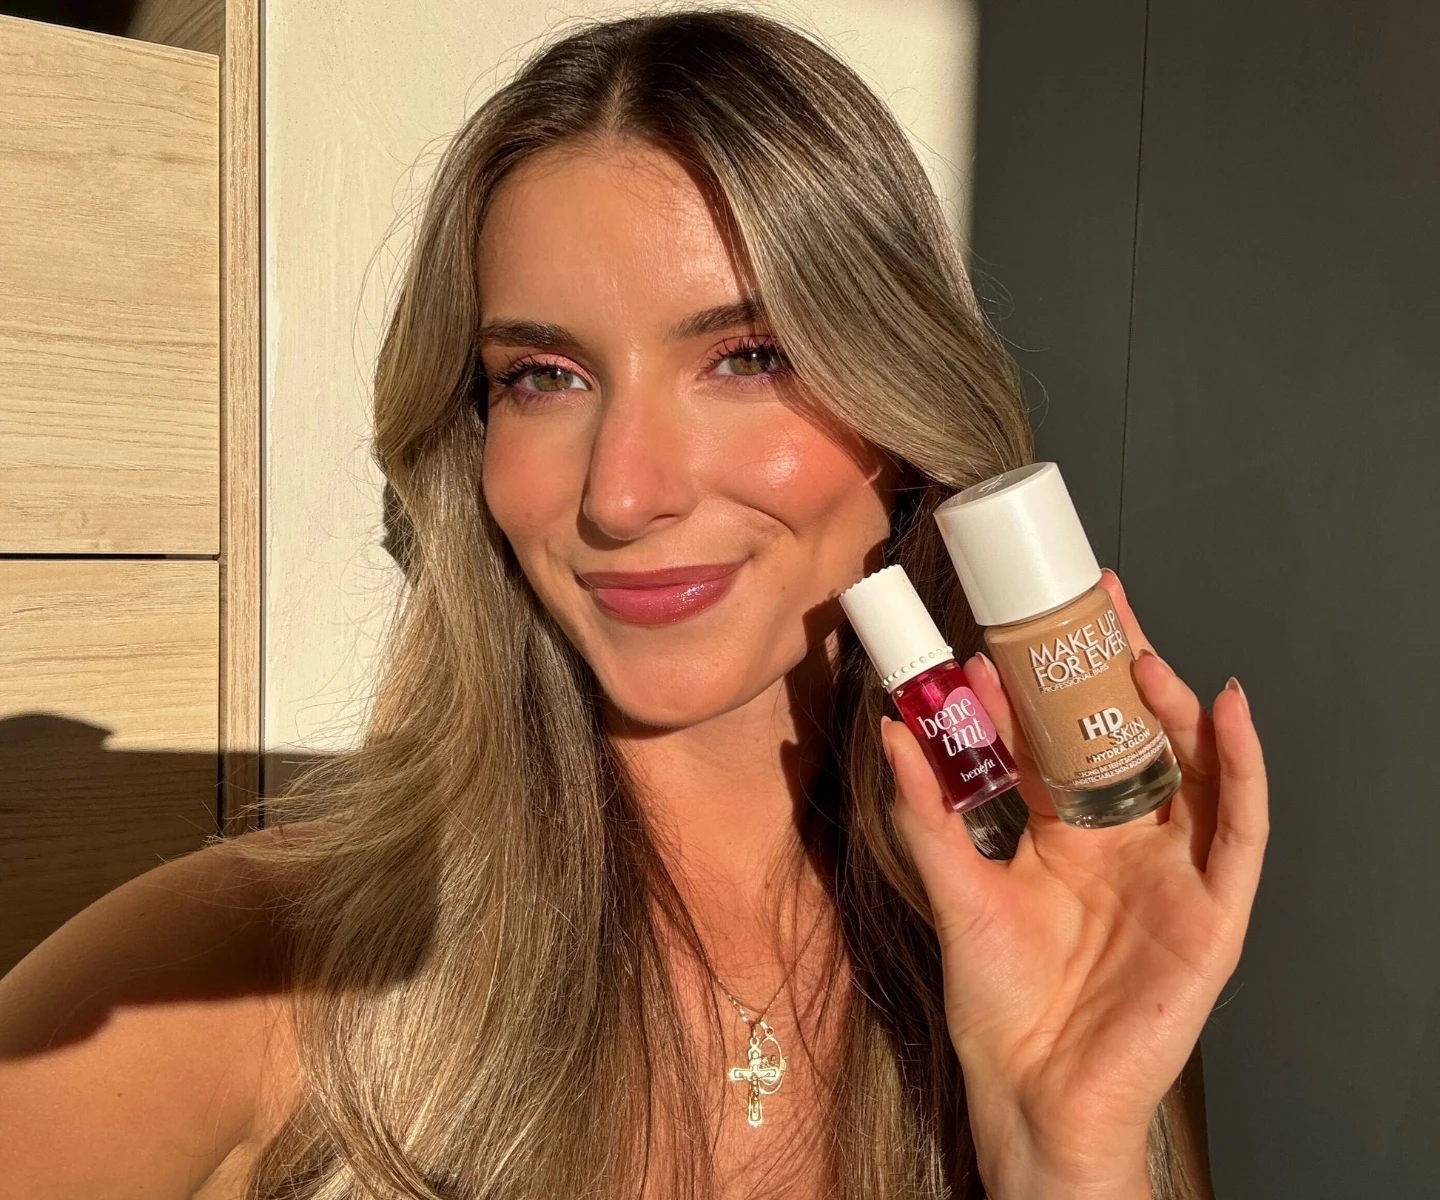
Once skin prep was complete, it was time to go in with the MAKE UP FOR EVER HD SKIN Hydraglow Foundation.
Ideal for dry-normal skin types, this foundation offers a radiant finish with medium/buildable coverage.
I have worn this foundation for 10+ hours and it STILL felt so lightweight on the skin, that it has become one of my go-to's and gives the perfect finish for the glowy look I wanted to achieve.
Eyes.
Once my initial base was on, I moved onto my eyes, making a start on an ethereal glow using the Huda Beauty Nude Obsessions Eyeshadow Palette Medium 10g.
I've created the below for you to use as a reference point as we move through each step.
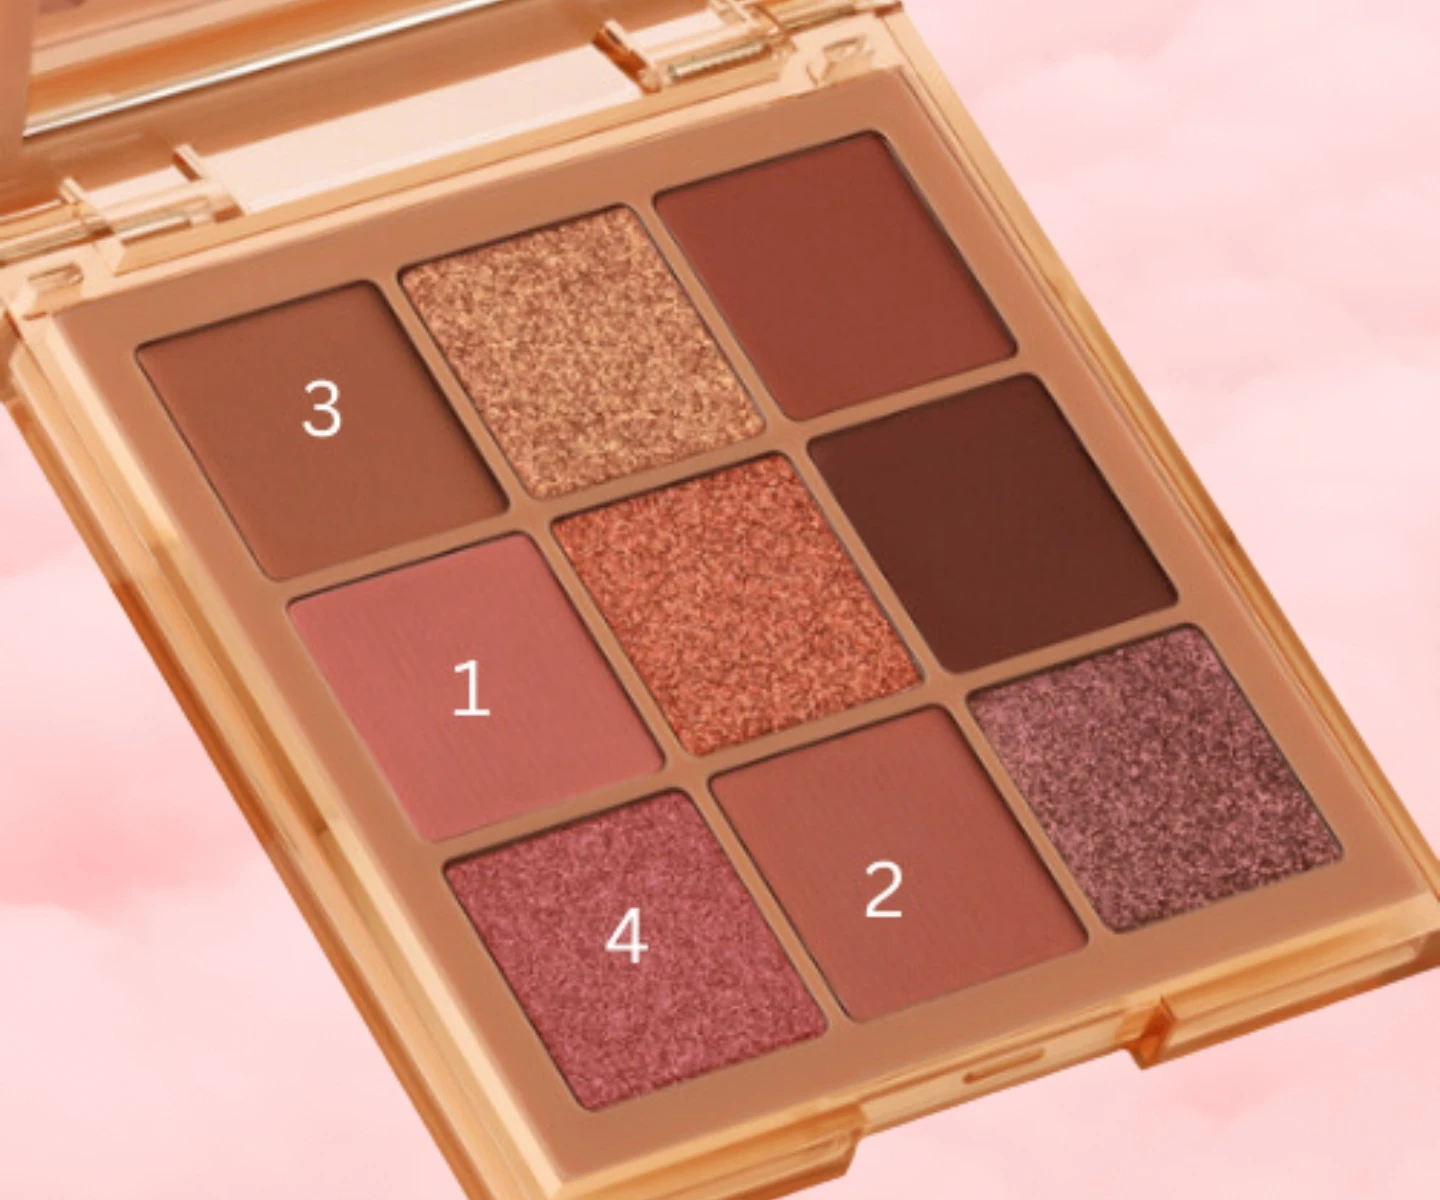
To begin, I used shade 1 to map out my crease and then reached for shades 2 and 3 to define the outer crease and mobile lid.
Once I was happy with the depth of the shadow, I swept shade 4 along the middle of my mobile lid.
I then added Anastasia Beverly Hills Modern Renaissance Eyeshadow Palette in shade Vermeer to my inner corner for an extra pop of radiance.
To ensure that this was a tonal look, I ditched my usual brown liner and instead lined my lids with the MAKE UP FOR EVER Artist Color Pencil in shade Free Burgundy.
This is a stunning plum shade that offers a subtle shimmer, really amplifying that whimsical glow.
I know that winged liner can be a little bit daunting, however, I have found that using a pencil liner is much more forgiving and a great step to take for eyeliner newbies.
To ensure the look was balanced, I swept this liner along my lower lash line, before diffusing it with a pencil brush and adding some of the the MAC Extra Dimension Skinfinish to my inner corner.
Once shadow and liner were looking cute, I popped L'Oreal Paris Telescopic Lift Mascara Black onto my lashes.
Finally, it was time to clean up any fallout that may have occurred whilst we were busy applying shadow.
Cheeks.
This admittedly was the step that I was looking forward to the most because I am low-key obsessed with a rosy cheek (I have fallen victim to "blush blindness" and I’m not mad about it).
To tie in the pinky hues that I was sporting on my eyes I reached for none other than the Benefit Benetint Lip & Cheek Tint.
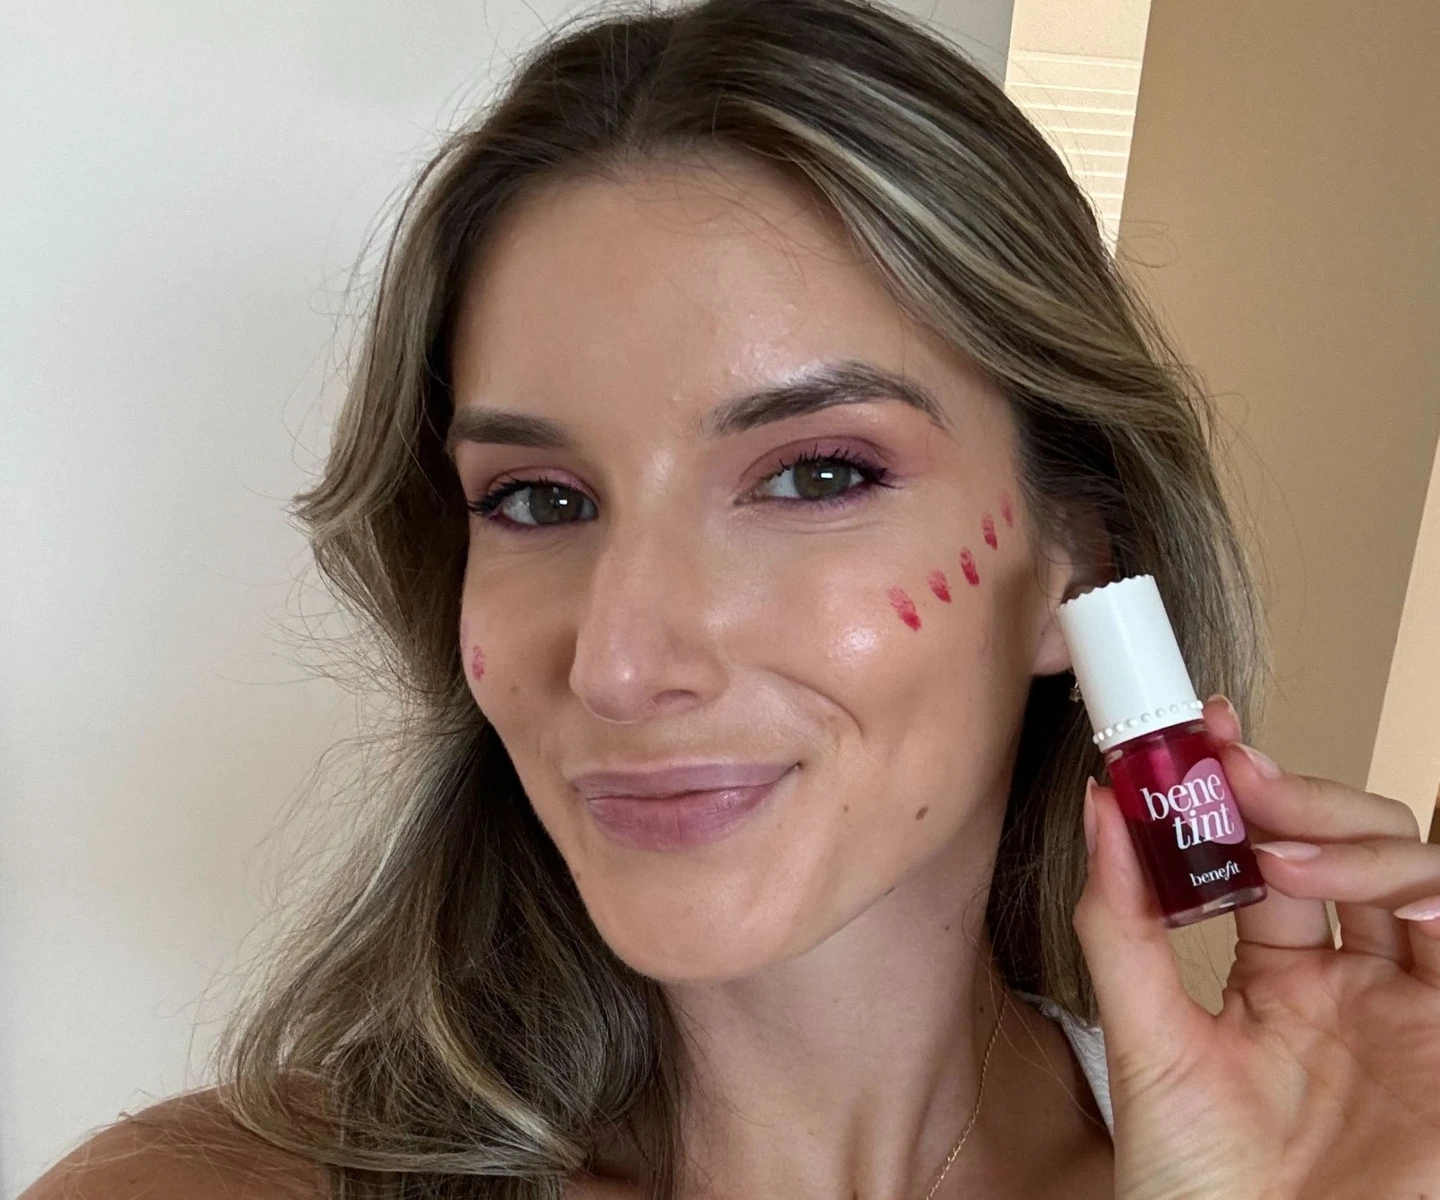
I paired this with the Huda Beauty Cheeky Tint Blush Stick in shade Coral Cutie.
The order in which I applied these blushes was based on their formulation to ensure there wasn’t any disruption to my foundation underneath.
With this in mind, I opted to go with the thinnest formulation to the thickest, which meant that Benetint’s liquid formula was applied first, followed by Huda Beauty’s cream stick over the top.
To get a soft yet lifted effect, I applied the blushes directly on top of my cheekbones before sweeping some across the centre of my nose and along the perimeter of my forehead.
Applying blush to the centre of the face makes your cheeks a focal point, creating the illusion of a softer facial structure, playing perfectly into the romantic aesthetic.
Lips.
Once cheeks were glowing, it was time to add a tonal, glossy lip to the equation.
I immediately reached for MAKE UP FOR EVER Artist Color Pencil in shade Anywhere Caffeine to line my lips, before adding a touch of Benetint Lip & Cheek tint to the centre of my pout.
No romantic makeup look is complete without a glossy lip, so the final touch was applying the super hydrating Maybelline Lifter Gloss - Hydrating Lip Gloss in shade 003 Moon.
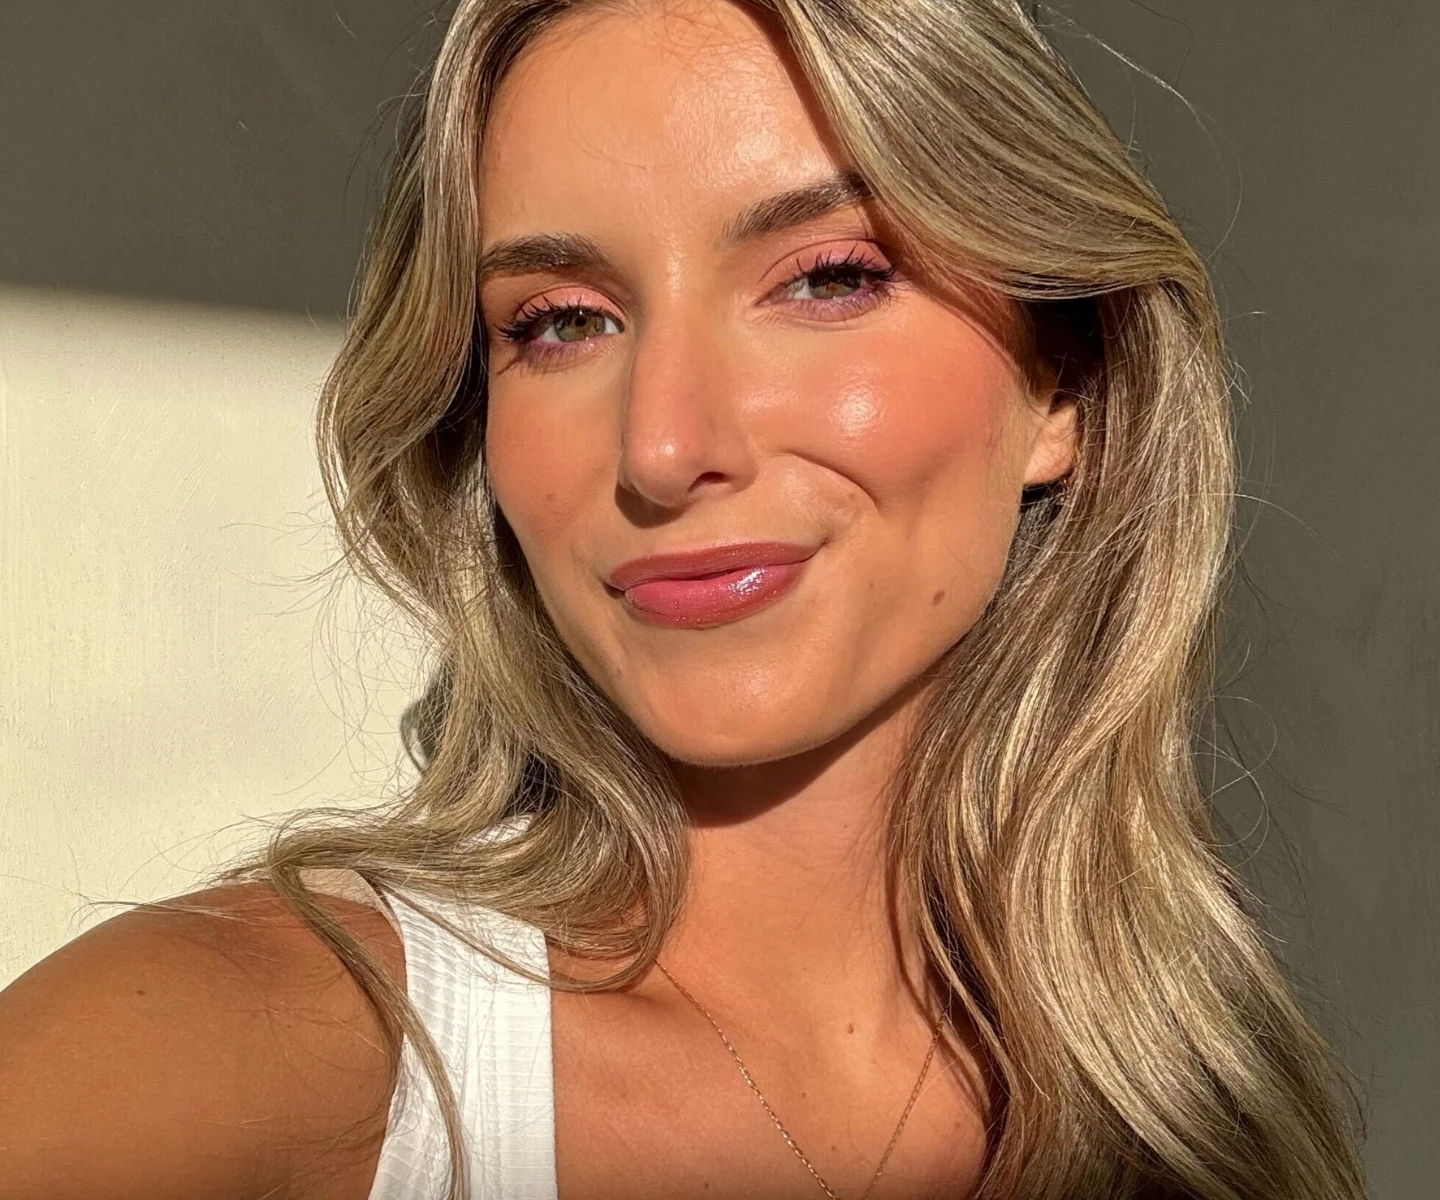
Final Verdict.
Like most TikTok trends, the “Romantic Makeup" look is one that has been around for light years, however, it has recently gained popularity again and I fully understand why.
As a makeup artist, I absolutely LOVE creating tonal looks and feel that is a much easier way to incorporate colourful hues in a wearable way.
Whether you’re a beauty newbie or a makeup aficionado I highly recommend you give the romantic makeup look a try, and then maybe treat yourself to a romantic date... or just take cute selfies in the comfort of your own home.
Looking to try your hand at some other makeup looks? Head here next:


