Does the Lifted Makeup Look On TikTok Actually Work? I Tried It

Sadaf Razi is Adore Beauty's Senior Beauty Editor.
She's a former fashion editor (who worked at various glossy mags) and stylist-turned digital beauty and lifestyle writer. She has been in the lifestyle/media industry for over 10 years and her work has also been featured on international covers like Elle France and Vanity Fair Mexico.
Some of her fave Adore Beauty products include Cicaplast B5, CeraVe Cleansing Oil and Lancôme Renergie Triple Serum.
I have officially entered the ‘trying TikTok beauty trends’ arena.
A playground of makeup hacks, trends and viral skincare and makeup products, TikTok has no shortage of beauty content for our constant pleasure and entertainment.
As a beauty editor, there’s some trends I see on my TikTok feed that I know are not even worth wasting my time on, but this is the first TikTok makeup trend I was actually kind of keen to try.
I came across a few of the #faceliftmakeup videos on my feed and love how it makes the face look more “snatched” (as Gen Z so poetically puts it).
Which basically means your makeup (and face) looks more lifted and taut.
The natural ‘facelift with makeup’ was my first foray into trying a ‘TikTok makeup look’ or ‘TikTok makeup trend’ and after trying my hand at a more subtle version, I was really into it!
If I can fake a ‘lifted’ look for as long as possible with makeup and skincare only before I ever have to start thinking about botox, then I’m all about it.
And yes, I did an actual TikTok video for it as well which you can scroll to the end to watch, otherwise, here’s the simple and easy step-by-step guide…
What Is the Lifted Makeup Trend?
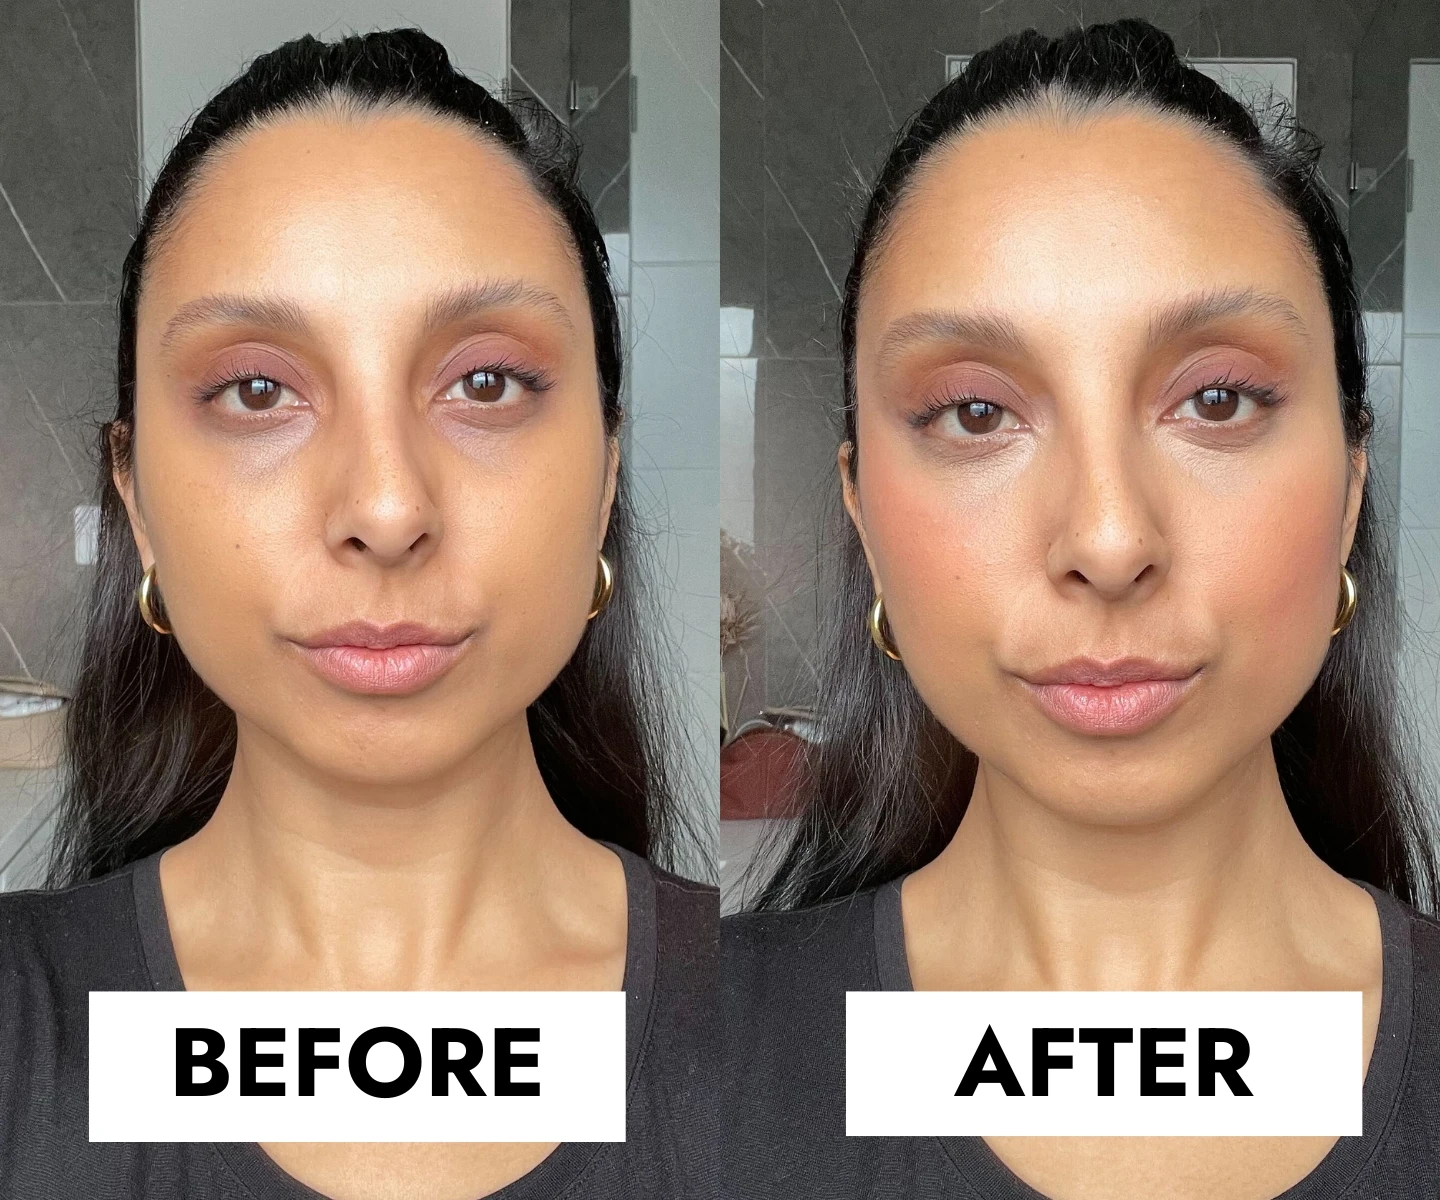
Riding on the coattails of the ‘Supermodel Face-Lift’ TikTok trend, the ‘Lifted Makeup Look’ shows one side of the face where makeup is lifted and the other side is how you would normally do your makeup.
You’re then able to see (and judge for yourself) the difference this makeup hack makes in the end.
How do you achieve the lifted makeup look?
The main technique when trying to achieve a faux facelift with makeup, is to apply your makeup products (usually creamy in texture) upwards, also blending everything in upwards motions rather than blending out, inward or down.
Here’s just a few of the facelift makeup TikTok videos I watched that convinced me I needed to try it for myself…
@helinndoski Contour 101: Facelift 📚 #faceliftmakeup #contouring101 ♬ fake a facelift w shape tape - tarte cosmetics
@daniellemarcan subtle face lift using makeup
♬ Originalton - A$hanti
Makeup should be fun and you should always make trends your own and translate them in a way you’re most comfortable with.
I’m not a heavy-makeup wearer or a huge contour person so my comfort zone didn’t include baking or multiple layers.
I wanted to achieve the same outcome in the most simple (and quickest) way possible.
After drawing some inspiration from the videos above, I decided to take a more subtle approach rather than an elaborate one, and mainly used my concealer and blush to do all the work.
If you want to add more dimension and intensity then you can add a contour stick (we have the perfect one from Clinique here) as well as a liquid eyeliner.
How to Lift Your Face With Makeup.
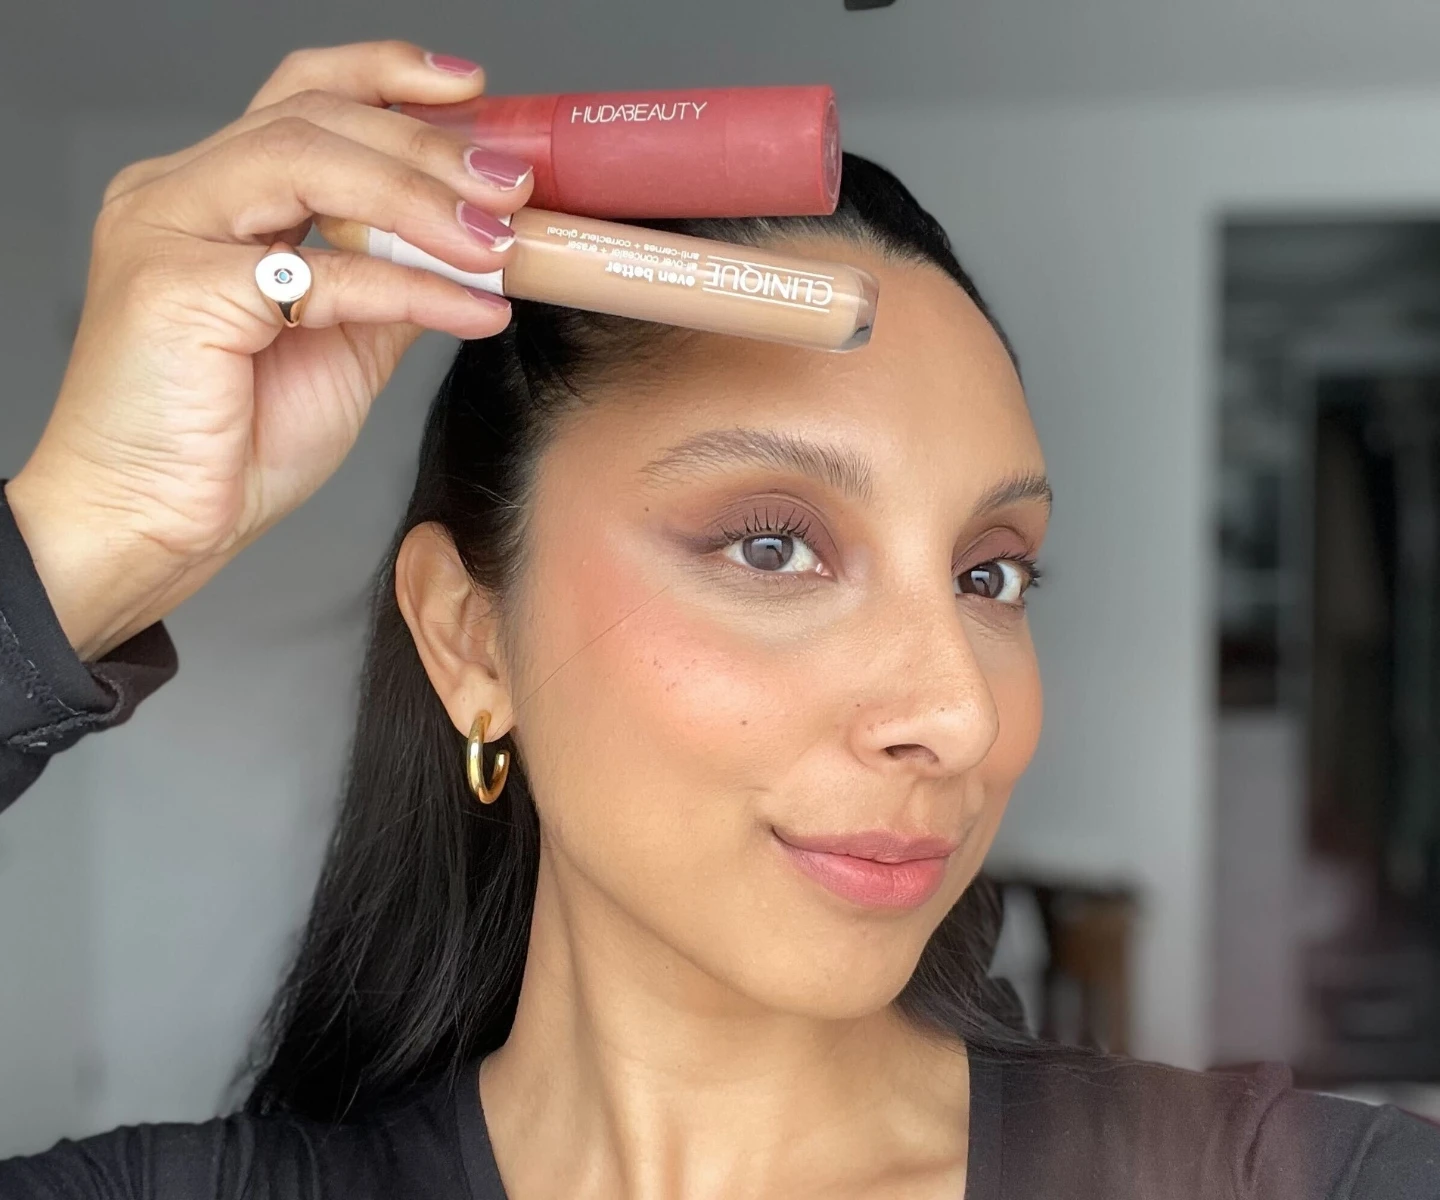
The MVP of the TikTok lifting makeup technique is going to be your liquid concealer then your contour and cream blush…
Step 1. Start With an Even Base.
I already had my base and foundation on, because I knew the main method of this lifting contour makeup technique was going to rely mostly on my concealer and blush.
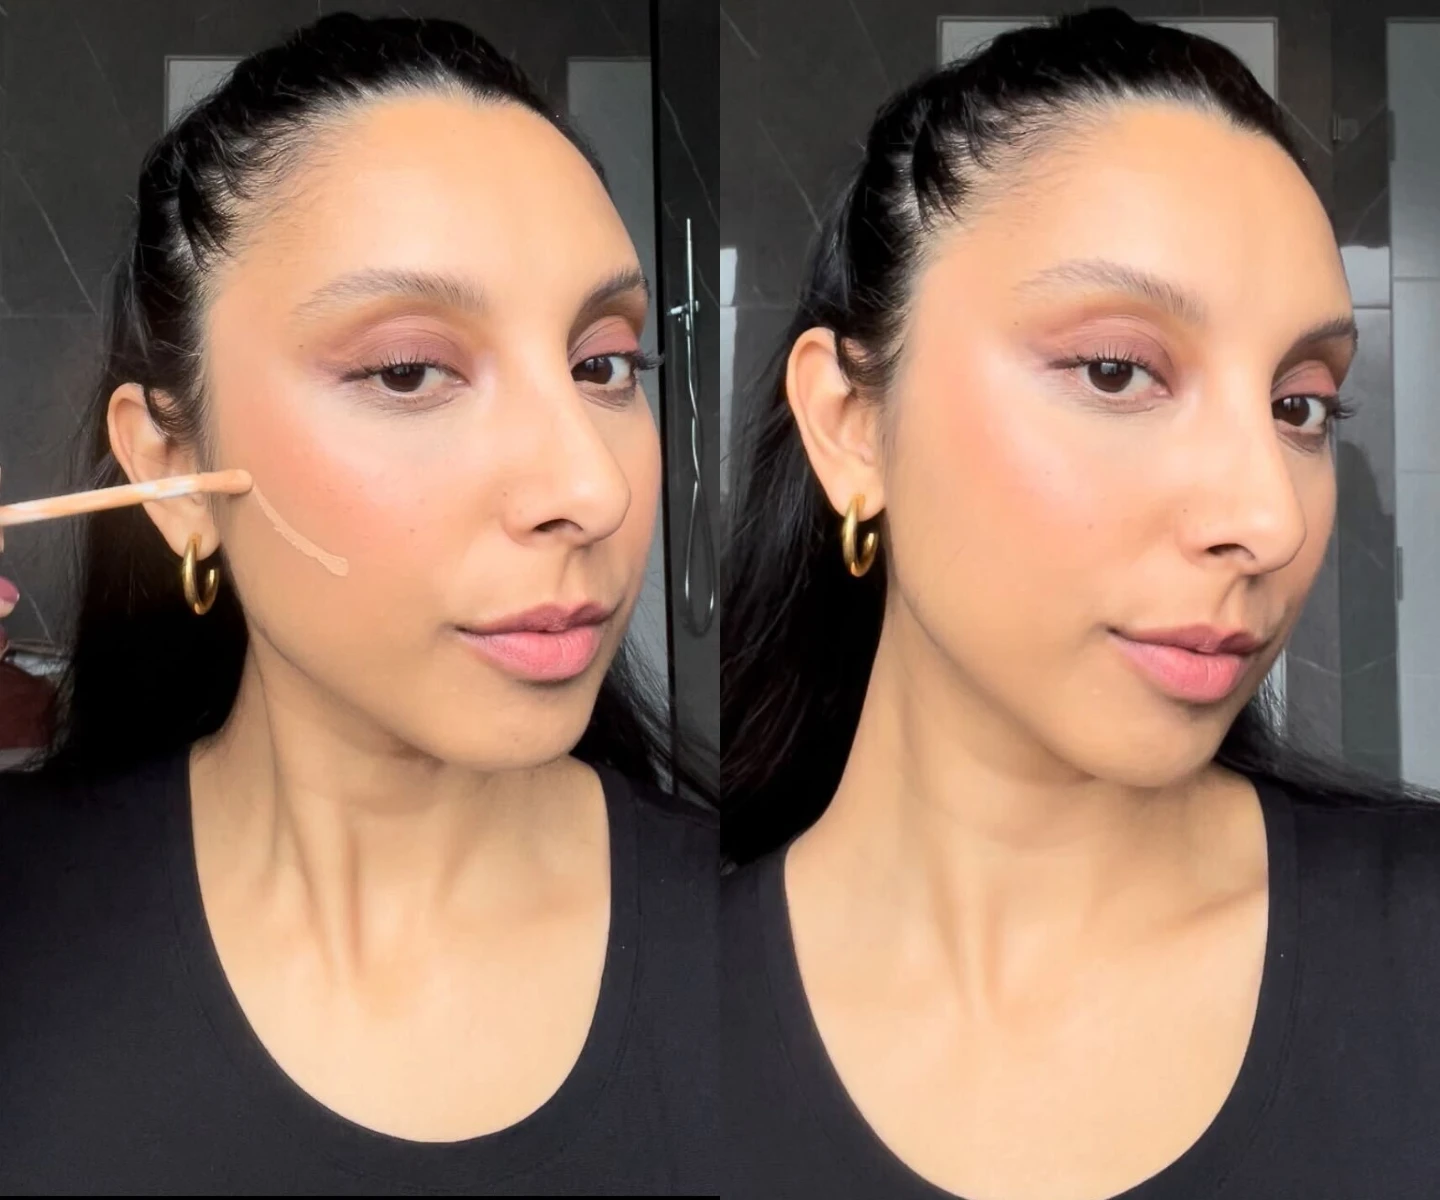
Step 2. Use Your Concealer to Draw a Line Upward Towards Your Temple.
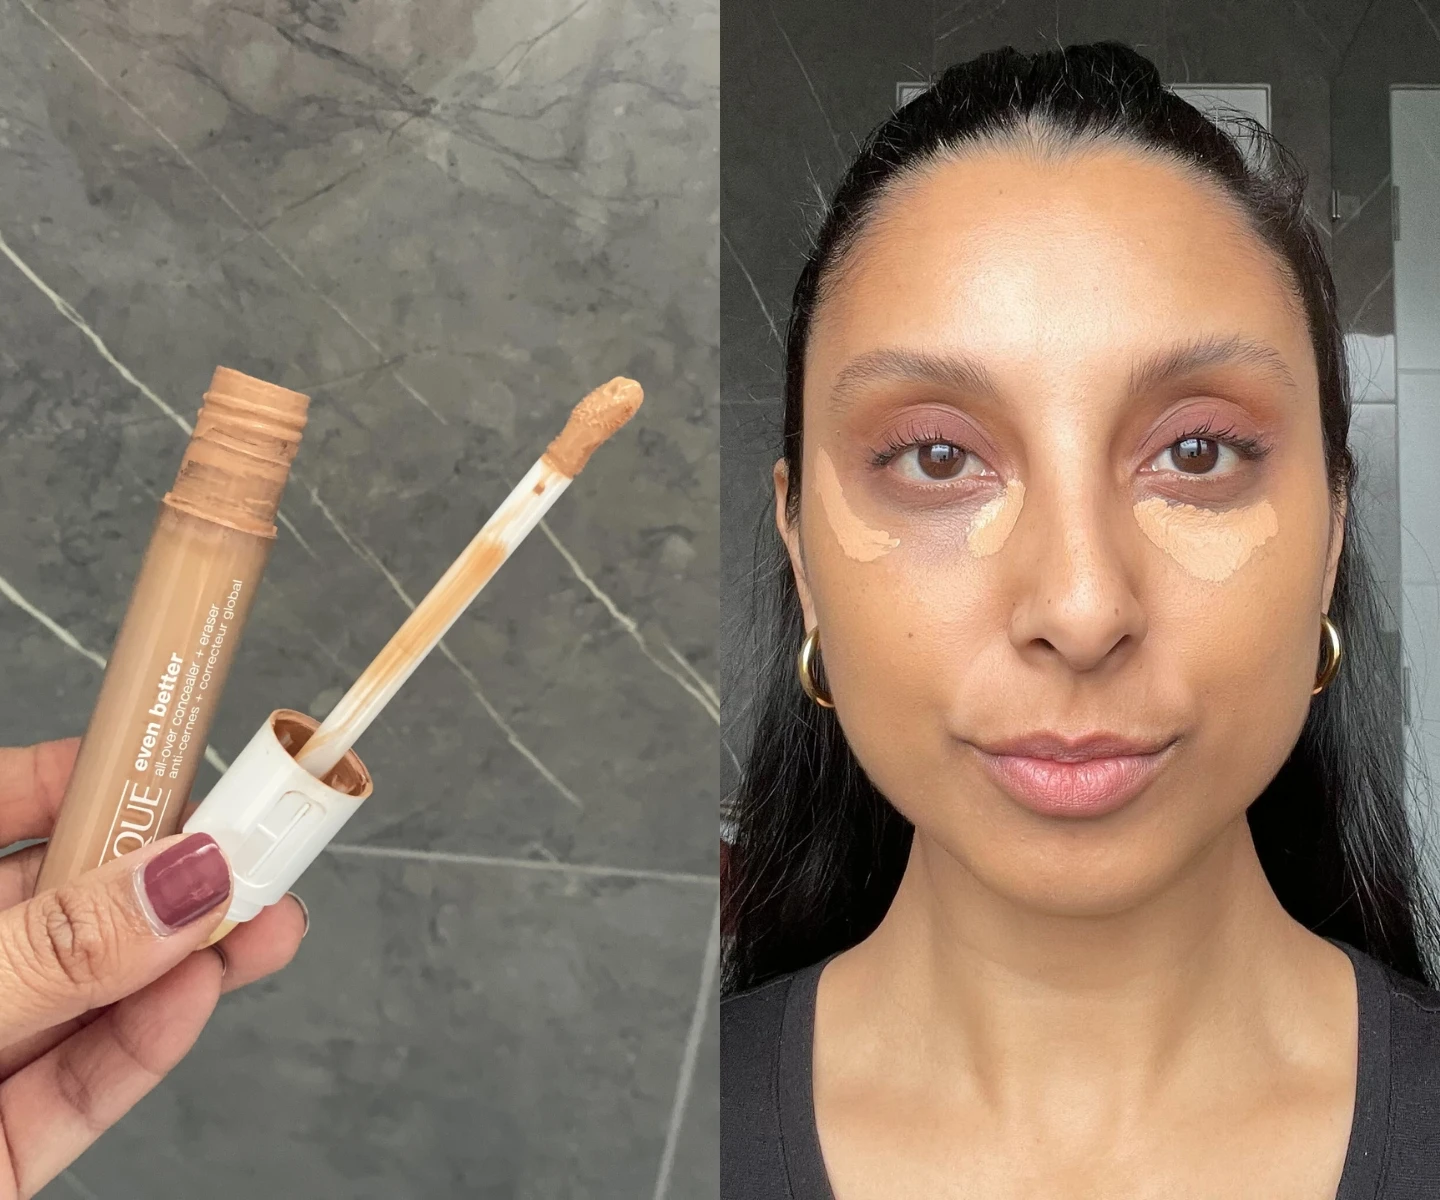
As someone with genetic dark circles, I’d usually draw an upside down triangle underneath my eyes with my concealer and blend that out and down.
Instead of that usual concealer placement, the trick is to draw a line upwards and blend in upwards motions towards the temple.
You also apply some of your concealer in the inner corners of your eyes - this helps to awaken and brighten the area and help with creating the illusion of a lifted eye area.
The stage is now set for the lifted look and while not so obvious in pictures, it's something I noticed more visibly when looking in the mirror.
Step 3. Add Lift and Dimension With Contour and Blush.
Now, if you're a contour girlie, this is what step would come next for you.
You can scroll back up to watch the TikTok videos and see how you can incorporate contouring in this look.
I’m not a huge contour gal (unless it’s the Clinique Chubby Stick Sculpting Contour ) so I skipped this and went straight to blush.
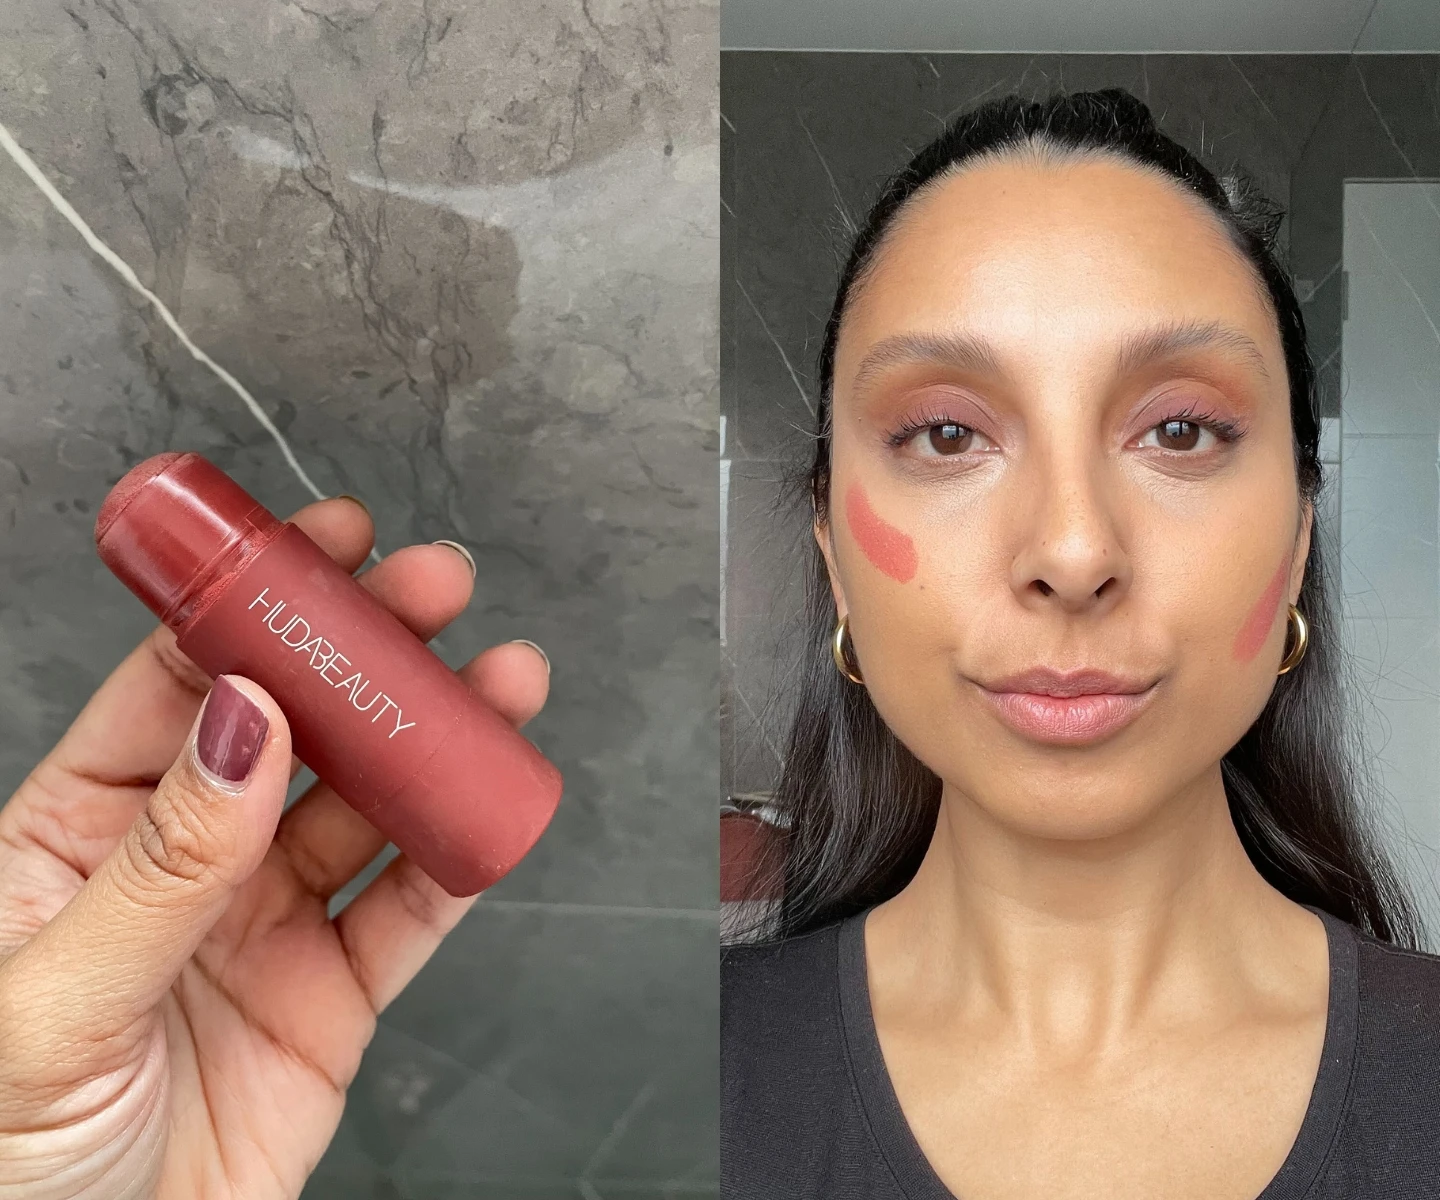
My blush of choice? The Huda Beauty Cheeky Tint Blush Stick which is the perfect blush to use for this method because it’s like a big cream pencil you can actually draw with.
Rather than applying your blush on the apples of the cheeks and blending in, out or down, similarly to your concealer placement, draw a line going upwards.
Then either using the warmth of your fingers (which I prefer to do when working with cream blushes) or a stippling brush, blend in upwards motions towards the temple.
On the other side I blended across the apples of my cheeks and slightly downwards which is what I would usually do.
Step 4. Add Contour and Concealer to the Hollows of Your Cheeks.
For the final step, go in again with your contour in the hollows of your cheeks moving upwards towards the temple and then again with your concealer right underneath that.
Again, I skipped the contour and just drew a straight line upwards with my concealer.
You can also add any touch ups here that are needed.
I found this last step really sealed the look and definitely added that extra bit of lifted dimension to the cheek.
Final Verdict...
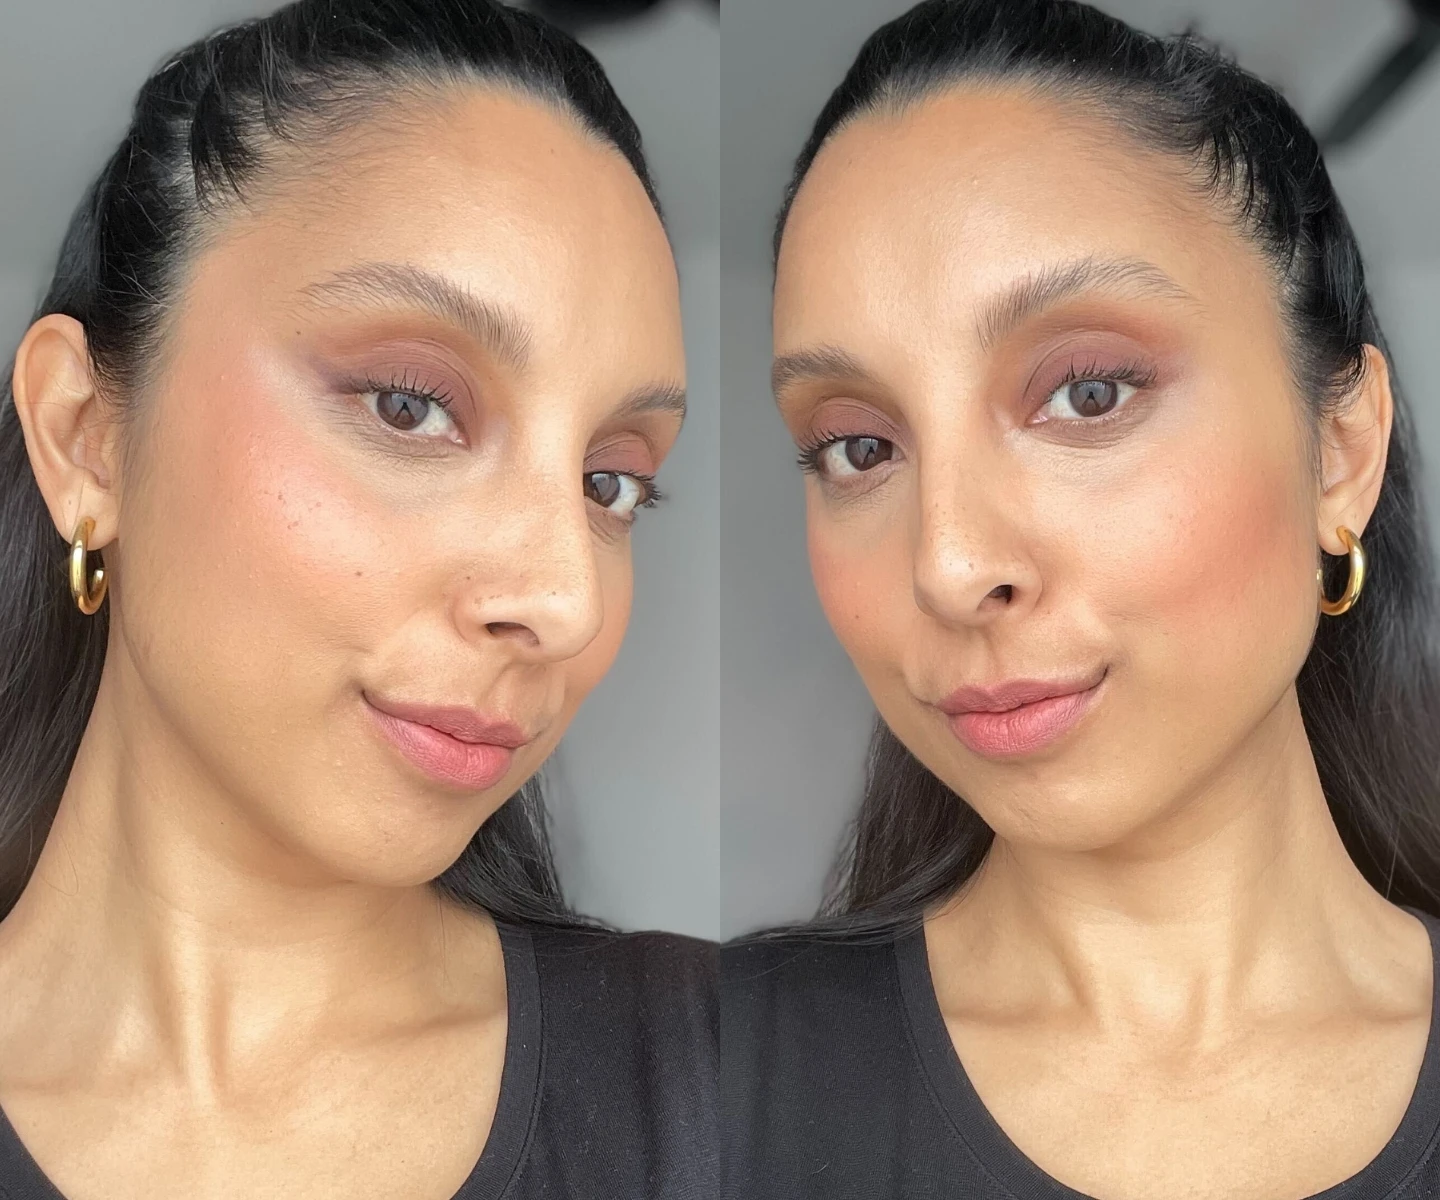
I definitely noticed a subtle difference and think this is kind of a genius makeup hack worth doing if you want to make your face look slightly more lifted.
If you have a rounder face and want your makeup to look more “snatched” this is the perfect makeup trick for you.
And while not as obvious in the video and images, the side I didn’t do the lifted look on definitely looked more dragged down making me look more tired.
It’s all about creating the illusion - and it totally works!
You can see how this lifted makeup look on TikTok came together in the video below:
@adorebeauty Our Senior Beauty Editor, Sadaf, tried out the viral lifted makeup trend. We might be biased, but we're obsessed 😍 What do you think? #liftedmakeup #makeuphack #makeuphacks #beauty #skincare ♬ Solo Tú
Are you or someone you know getting married this year?
Let us introduce you to your new favourite bridal podcast 'Bride To Be' hosted by our own Megan Miloshis and Tayla Broad.
Listen to Ep 1: I Just Got Engaged…What Now? below:
Check out some more of our recent BIQ makeup stories below:


